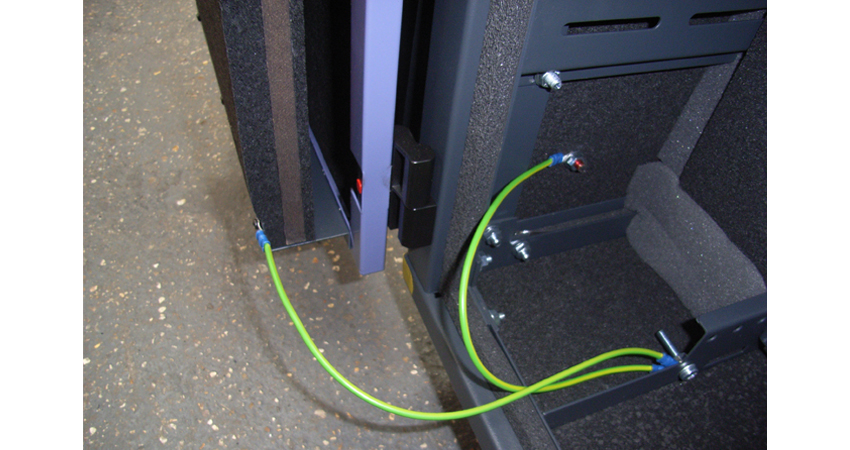
If you're reading this, I'm going to assume that Datacentre style overhead power distribution is out of your budget. This how I accomplish the same task.
Firstly, start with a good rack. One that's designed for the purpose. Using a server rack designed to house servers and manage cabling at the rear is probably not the best idea for a network patching rack which will generally have cable management at the front. After having learnt this lesson the hard way, I can't help but try to impart this knowledge onto all of you.
| APC AR3100 Server Rack | Panduit S6212BF Server Rack |

|
 |
| APC AR3340 Network Rack | Panduit CQSMDC79 Network Rack |

|
 |
Overhead Power Distribution On A Budget
Now that our rack is sorted, I would normally turn my attention to overhead cable management'. The APC AR8560 cable trough connects securely to the top of the APC rack though you can get away with using this setup on other racks. These cable troughs should be Connected together allowing a single rack to be removed independently of your electrical circuits running overhead.
Have the electrician mount the power outlet boxes on the rearward facing side of the cable trough and you'll no longer need to pay an electricians call out fee whenever you need to move things around.
Just remember to mark your outlets so you can tell at a glance which electrical board they're connected to. I suggest using paint pens to colour in part of the outlet box and colour part of the electrical board cover to match. I like to use red for UPS power and blue for mains power.
Earthing
The most important part of your install should be your earthing system. It's a safety system which should never be overlooked and your plan for this system should be discussed with your electrician.
Without your direction, the electrician will run a dedicated earth from the electrical board to your server rack and use a self tapping screw and appropriate washer to earth your server rack and yes, it does work but anything beyond that will generally be your problem to deal with not theirs.
If your thinking "well, I don't know anything about this stuff" I have some suggestions below.
Piggyback Style Earthing
The piggyback style is generally going to be the cheapest. Mostly because it can be wrapped into other jobs (like running a new circuit) for relatively little labour. It also requires the least amount of additional consumables.
Despite being easy on the hip pocket, you potentially introduce additional resistance into your earthing system and by piggybacking your earth, you are creating a number of potential points of failure. Severe a link in the chain and you compromise everything that was piggybacked to it.
Not good. Let's try and float another idea shall we?
Earth Your Overhead Power Distribution System
Consider having your electrician earth your overhead power distribution system. Why you ask? Your overhead power distribution system is unlikely to be moved. If your power is also terminated here then it absolutely cannot be moved without the assistance of an electrician.
Accidents happen and by being higher up means it's less likely to be damaged by an ignorant mug like me. I don't know about you, but it seems like a safe bet.
The astute among you are probably thinking that the overhead cable management still needs to be piggybacked together so there's still a flaw isn't there? You'd be correct, however it is mitigated to a certain degree.
Finally, if you disconnect a rack (for removal) there is no risk of compromising the rest of the system.
Copper Bus Bar System
Essentially this is a long square/flat bar of copper dipped in tin to inhibit corrosion. Suppliers normally sell these in different lengths but you can also ask them to cut them down to the size you need with a variety of different hole spacing (NEMA, BICSI etc). I personally try to avoid cutting them if I can as it saves time and money.
When it comes to mounting, there are a few ways to mount them. For me, the most important thing to remember is to secure it to your overhead power distribution so the racks can still be removed independently of your bus bar.
How many you choose to install is up to you, but at the very least you'll need one per row. This will ensure your devices have a clean and solid connection to mother earth.
While your at it, you should pick up some ring terminals, a crimping tool, ground wire (min 2.5mm or 13 gauge but no more than 4mm or 11 gauge) and probably a small wire brush or sandpaper to ensure the surface is clean. You'll need to earth PDUs, UPSs, Network gear, Blade chassis etc so it's better to spend a few bucks on tools and do this part yourself.


No comments:
Post a Comment