Blanking Panels

Blanking panels are known to many as being ineffective, expensive and made of materials that conduct heat really well like, oh i don't know, STEEL! So if that's the case, why would anyone want to use them? While APC, Panduit etc both sell blanking panels in various sizes/quantities and yes, I've used them in the past, I don't like use them anymore for what should be fairly obvious reasons by now.

I was put onto the following company I'm about to mention and since then i almost exclusively recommend plastic blanking panels like those offered by Eziblank. They come in 8 RU sections with the ability to break them apart into a total of 8 individual 1 RU panels.
Almost all blanking panel manufacturers offer tool-less installation and Eziblank is no different. You'll be done and dusted fitting them to a rack in only a couple of minutes.

The Eziblank panels are significantly less expensive than some of the name brand blanking panels with one box of panels able to cover up to 60RU of space! At just over $100 USD a box they are seriously good value.

So far we've talked about some of the benefits in using blanking panels but the main reason you need them, the main reason why you want these in your life is because they help make sure cold air flows from the front of the rack, through a heat load (like a server) and out the rear of the rack. Air that doesn't pass through a heat load is wasted air that will continue to cost you money in energy bills until the end of time itself. Save yourself thousands tomorrow by spending a few hundred today.
Insulation
So what can we do to save us a few dollars on our energy bills? Well to be honest, it's exactly the same as a regular room in your home or office. Everything we look at here and every product we use can be re-used outside of the server room and is probably available from your local home improvement store. If you're lucky, you may be able to use excess materials from elsewhere on the site and cut your costs down to almost zero.
Foam Weather Stripping
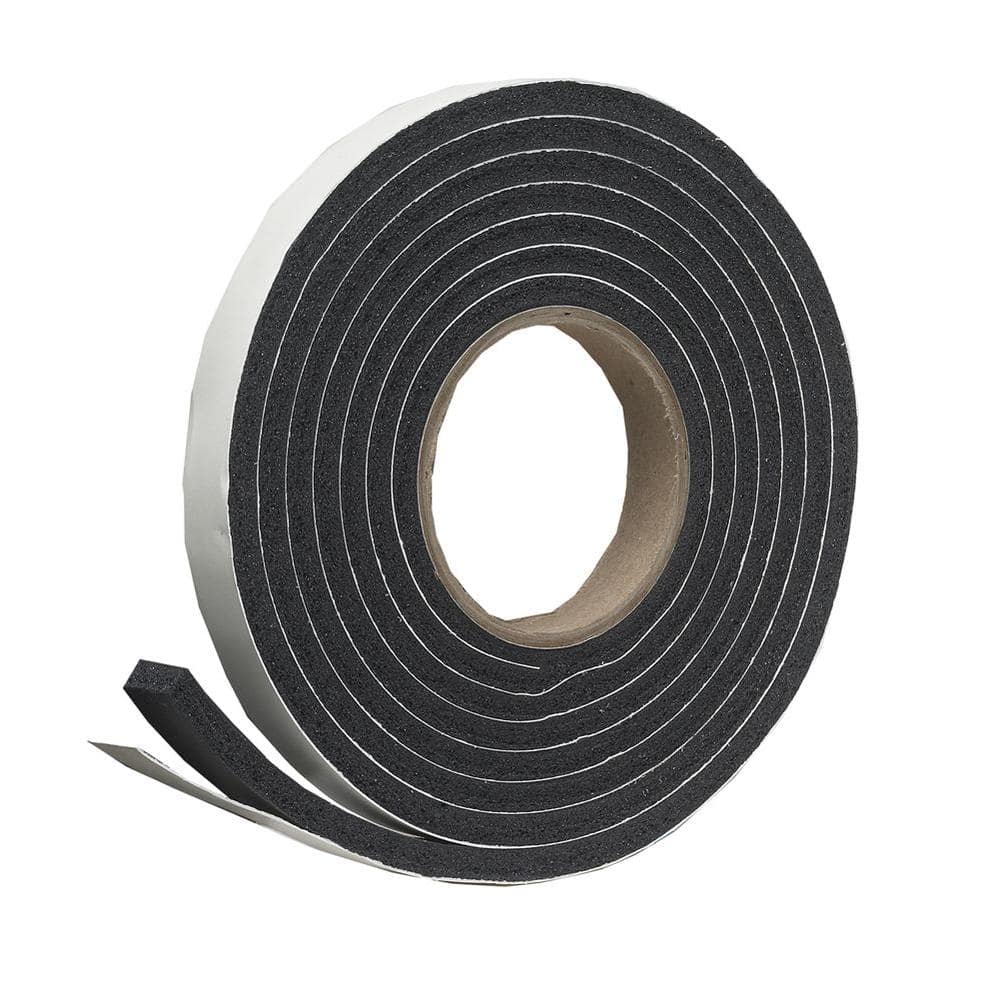
Foam weather stripping come in a variety of different widths and lengths. By using them you can seal around doors and windows etc or seal gaps in racks or between racks. Noise transfer to other rooms can be an issue as well that will make everyone outside of IT, hate IT. As an added bonus of using foam insulation tape etc, you'll also be reducing noise transfer between the two areas.
Also available is foam (for lack of a better word) cord in various lengths and diameters. If you have windows that open, you can cut this stuff to length and jam it in the window tracks. The window may not open until removed, but it's a minor inconvenience when compared to the energy savings.
Bat vs Blown vs Foam

|

|
|
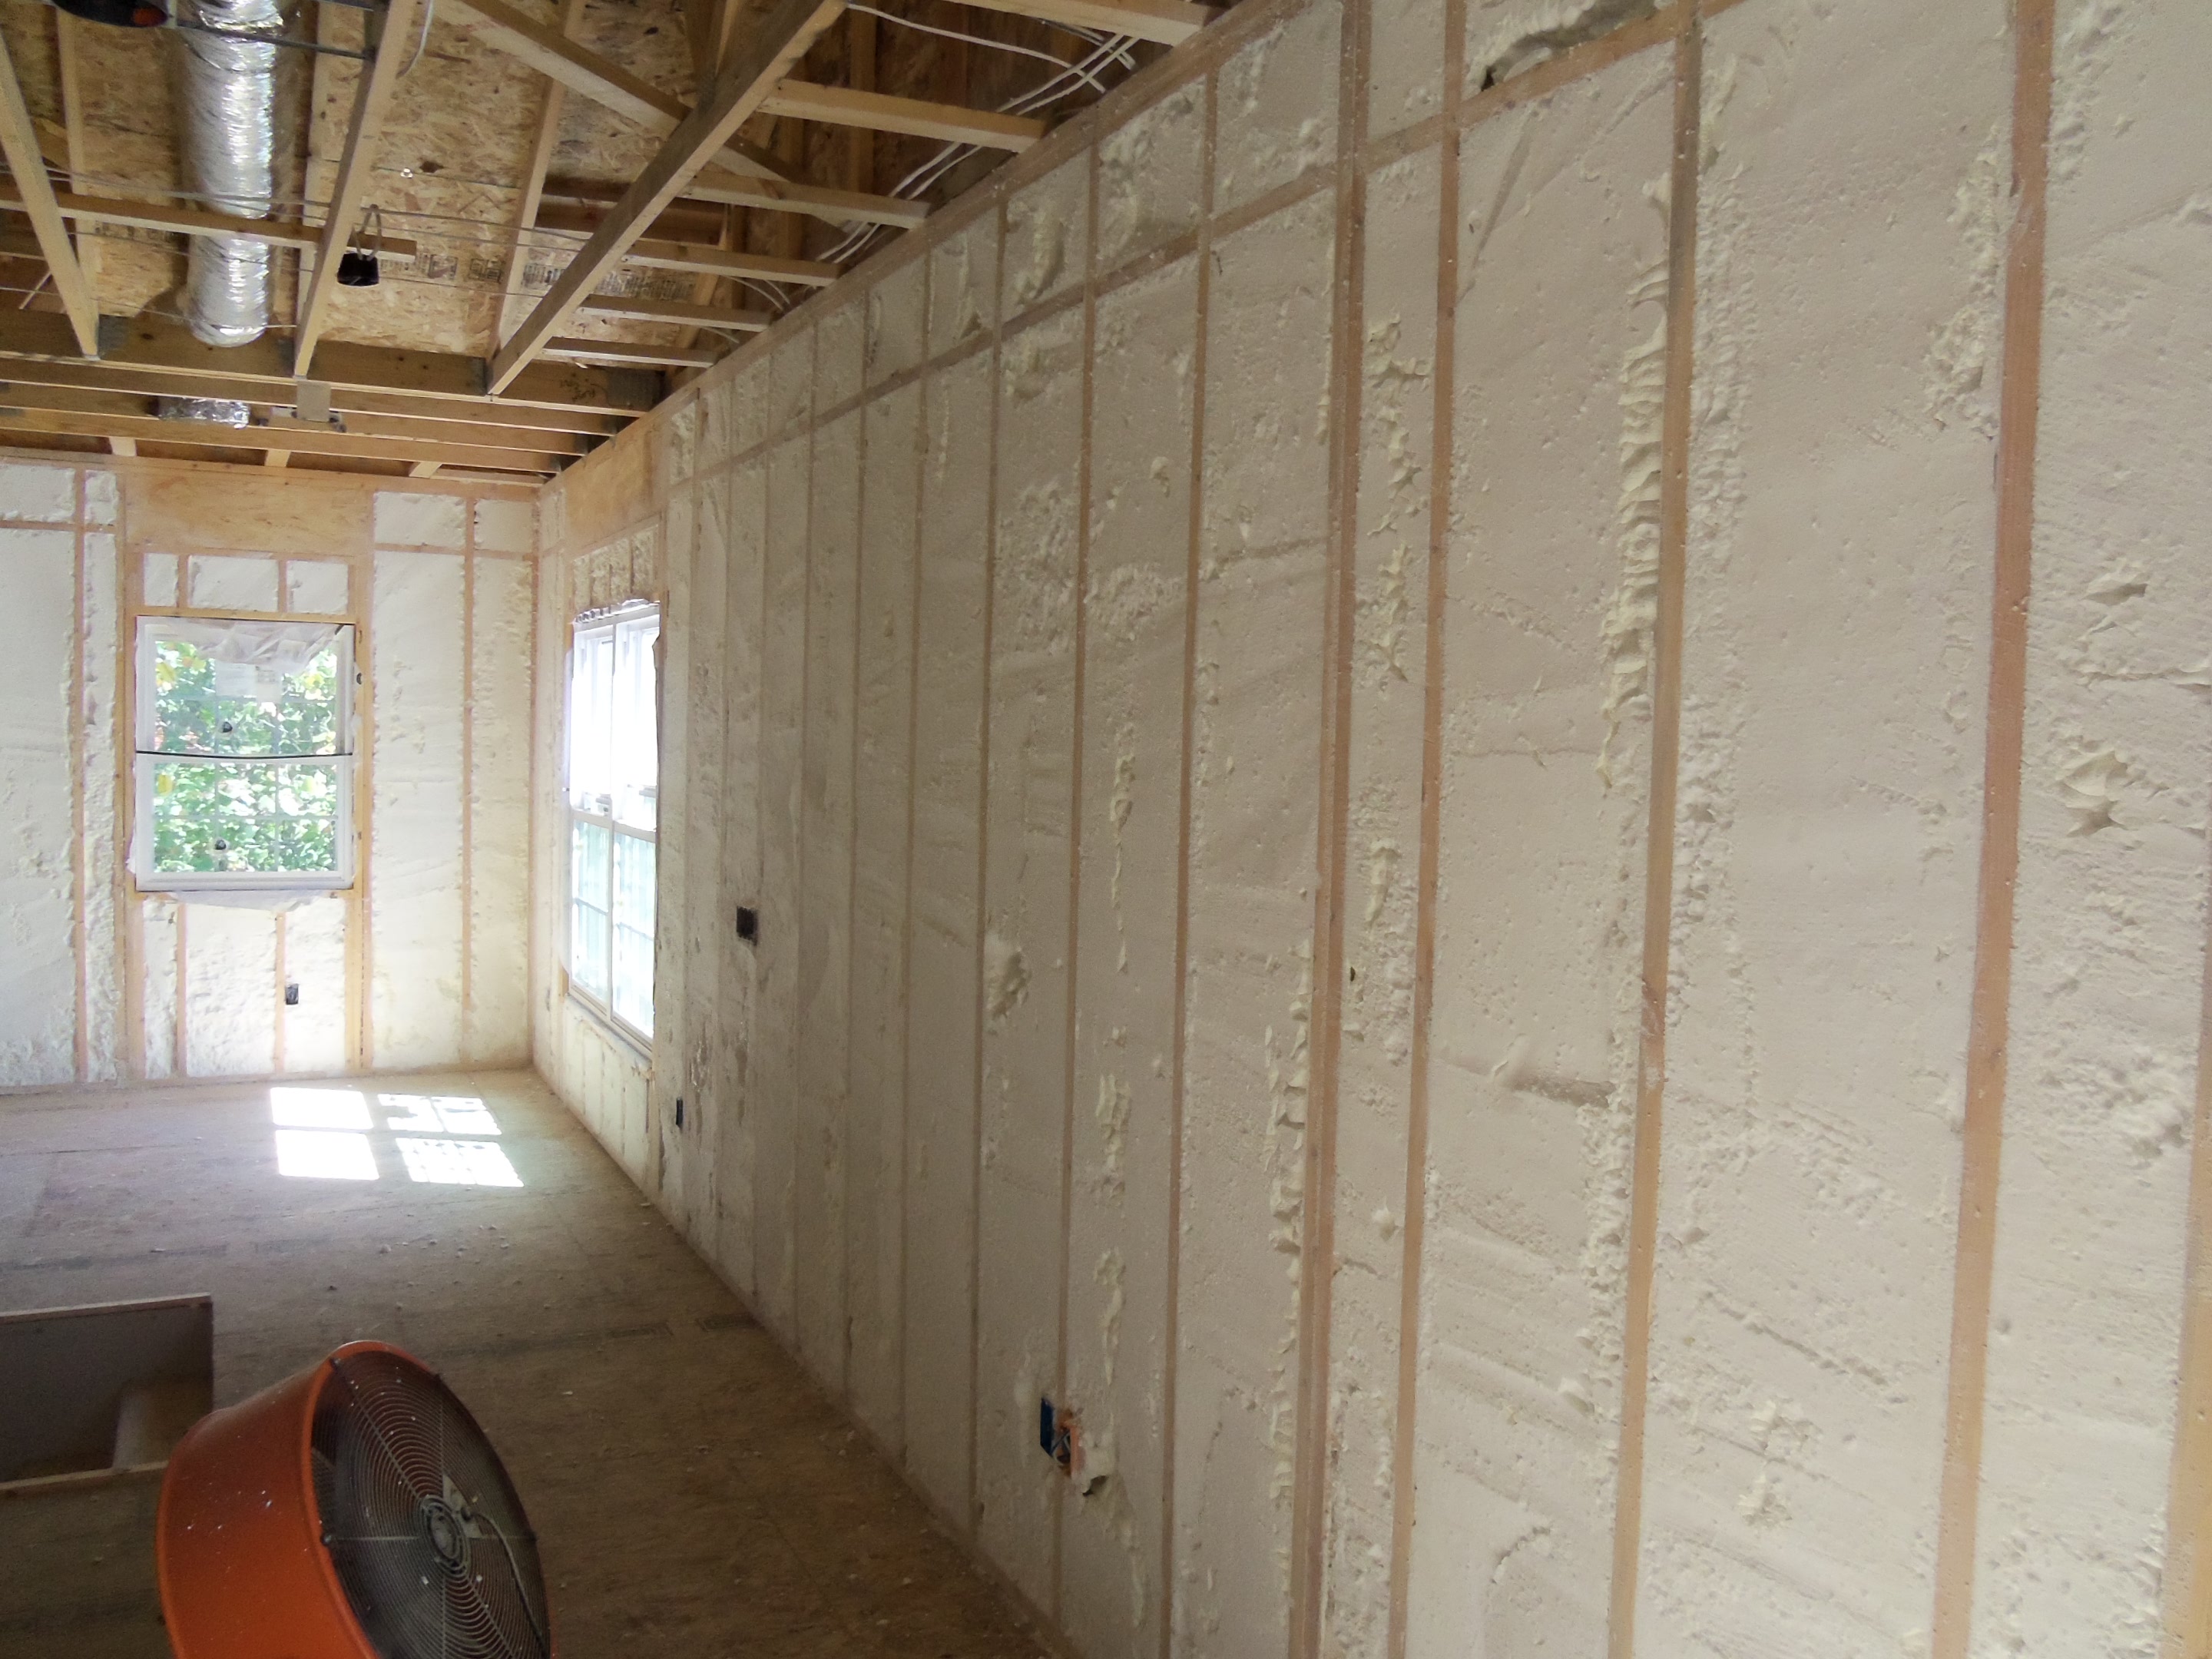
It sounds like an alternate version of scissor, paper, rock doesn't it? But we're talking about is insulation inside your walls and ceiling. You could be wondering how this even relates to airflow management? Well, if you have any gaps or holes in your walls (or ceiling), it's likely that your losing valuable cold air to an outside room.
You can use either batt or spray foam insulation in the walls but here's the thing... I'm not sure it makes much sense to use it in the entire room. The rear area behind your server racks doesn't need it because we don't really care about keeping the heat in. I will probably have to return to this statement once i'm able to do some testing.
The ceiling on the other hand can use one or more of the options available. It really just depends on your budget. Focus on the area's above the front of the server racks and you should be able to ensure that the cold air stays inside the room and the hot air outside the room doesn't rear its ugly head within the room.
Thermal Containment
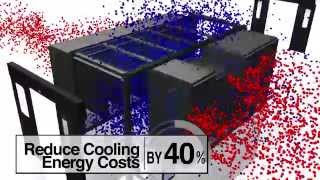
Modern servers draw cold air in from the front, use barriers/ducts to direct the airflow over the components that need to be cooled and exhaust the hot air out the rear. By doing so, the servers make efficient use of the airflow available.
You might be thinking "why don't we do this in our server room?". Well, time and cost are normally a factor but it might also be difficult to sell it to management if you already have a server room that "just works". So if it's difficult to sell the idea of thermal containment, you might be able to slap together a proof of concept for relatively little cost (sometimes free) that will hopefully drive the point home.
Thermal Containment - Proof of Concept
Your going to need some paint sheets or a few shower curtains etc whichever one is cheaper and easier to get your hands on. You'll also need a roll of duct tape, something to cut the tape into strips, a ladder and probably a couple of hours to spare.

At the front of your server racks, you'll need to fill in the gap above them. Use the heavier sheets here. They generally won't have to cover as much area so weight shouldn't be an issue. Tape the sheets to the ceiling and let em hang. Use tape every metre or so and overlap with extra pieces of tape as necessary to make sure the sheets stay there.
For larger areas like thoroughfares, you will need a lighter sheet like a shower curtain.... Or a crap load of tape whichever you prefer.
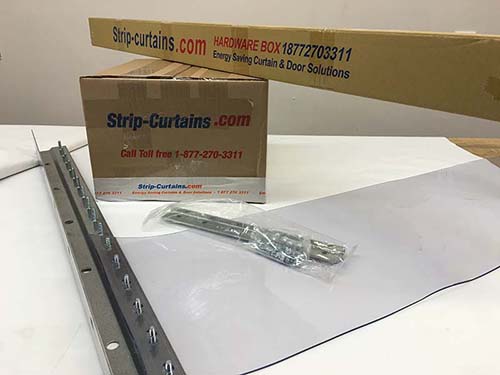
For thoroughfares, this is what you're trying to achieve... minus the forklift
Once your done, you can let the room equalise under its existing AC settings before taking some measurements and giving your stakeholders a walkthrough. Personally, I've gone so far as to turn AC unit off completely to demonstrate how well it can work. Don't do this unless you know your IT loads REALLY well or really stupid. Clearly, i'm the latter.
DIY Thermal Containment
If you've managed to sell your proof of concept, now it's time to get real and luckily, I have a plan for that too.
You'll need angle brackets, self tapping screws and rolls of clear PVC anti static sheet. If you want to take your install to the next level and make it adjustable and removal, add to your list threaded pot magnets, stainless steel washers and wing nut bolts.
Start by cutting your PVC sheet to the shape you need to fill the space. Pre drill and screw the clear PVC sheet to one half of the angle brackets. Screw the brackets into the ceiling and you're done.
If you're trying to take your install to the next level, instead of screwing the brackets to the ceiling, bolt the angle brackets to the threaded pot magnets using a wing nut bolt and washers on both sides of the PVC sheet. Finally attach the entire contraption to the ceiling via the pot magnets.
What? You were expecting more? Make sure you don't cut your sheet too short. A little overhang is better than not enough. You can also heat it with a heat gun to bend it into certain shapes.
Final Thoughts
Remember that you need to be taking measurements both before and AFTER because otherwise you won't know if the changes you're making ACTUALLY WORK. Don't simply take my word for it.. take measurements and take action accordingly.


