Showing posts with label panduit. Show all posts

Friday, 1 April 2016

Air Flow Management (Part 2)

Since we now know what changes we want to make and how to measure their effectiveness, in this episode we'll cover blanking panels, insulation and thermal containment.

Blanking Panels


Blanking panels are known to many as being ineffective, expensive and made of materials that conduct heat really well like, oh i don't know, STEEL! So if that's the case, why would anyone want to use them? While APC, Panduit etc both sell blanking panels in various sizes/quantities and yes, I've used them in the past, I don't like use them anymore for what should be fairly obvious reasons by now.


I was put onto the following company I'm about to mention and since then i almost exclusively recommend plastic blanking panels like those offered by Eziblank. They come in 8 RU sections with the ability to break them apart into a total of 8 individual 1 RU panels.

Almost all blanking panel manufacturers offer tool-less installation and Eziblank is no different. You'll be done and dusted fitting them to a rack in only a couple of minutes.


The Eziblank panels are significantly less expensive than some of the name brand blanking panels with one box of panels able to cover up to 60RU of space! At just over $100 USD a box they are seriously good value.


So far we've talked about some of the benefits in using blanking panels but the main reason you need them, the main reason why you want these in your life is because they help make sure cold air flows from the front of the rack, through a heat load (like a server) and out the rear of the rack. Air that doesn't pass through a heat load is wasted air that will continue to cost you money in energy bills until the end of time itself. Save yourself thousands tomorrow by spending a few hundred today.

Insulation


Sometimes when these rooms are built, noise transfer and thermal insulation aren't even topics that are either considered and/or covered. It's usually assumed that because the room is meant to house servers, there should be no need to worry about it. Wrong!

So what can we do to save us a few dollars on our energy bills? Well to be honest, it's exactly the same as a regular room in your home or office. Everything we look at here and every product we use can be re-used outside of the server room and is probably available from your local home improvement store. If you're lucky, you may be able to use excess materials from elsewhere on the site and cut your costs down to almost zero.

Foam Weather Stripping
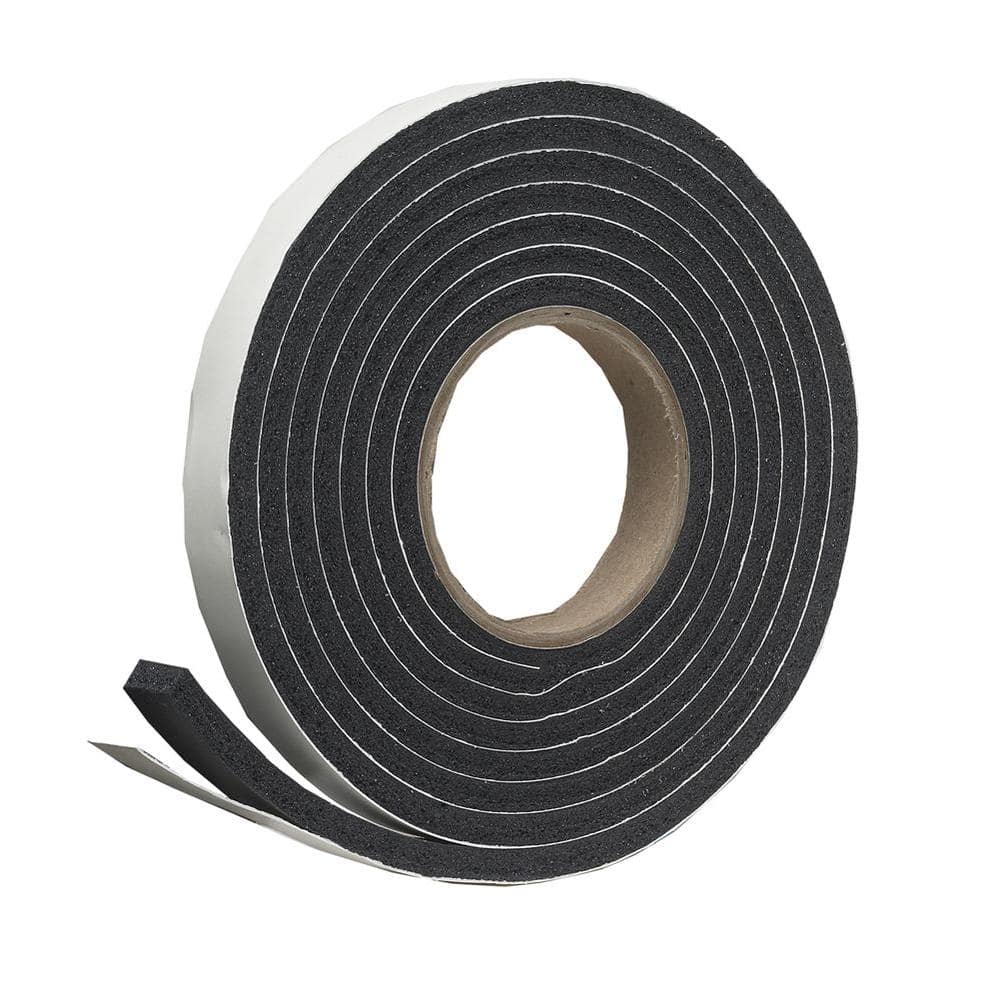

Yep, that's what a roll of tape looks like...

Foam weather stripping come in a variety of different widths and lengths. By using them you can seal around doors and windows etc or seal gaps in racks or between racks. Noise transfer to other rooms can be an issue as well that will make everyone outside of IT, hate IT. As an added bonus of using foam insulation tape etc, you'll also be reducing noise transfer between the two areas.

Also available is foam (for lack of a better word) cord in various lengths and diameters. If you have windows that open, you can cut this stuff to length and jam it in the window tracks. The window may not open until removed, but it's a minor inconvenience when compared to the energy savings.


Bat vs Blown vs Foam


It sounds like an alternate version of scissor, paper, rock doesn't it? But we're talking about is insulation inside your walls and ceiling. You could be wondering how this even relates to airflow management? Well, if you have any gaps or holes in your walls (or ceiling), it's likely that your losing valuable cold air to an outside room.

You can use either batt or spray foam insulation in the walls but here's the thing... I'm not sure it makes much sense to use it in the entire room. The rear area behind your server racks doesn't need it because we don't really care about keeping the heat in. I will probably have to return to this statement once i'm able to do some testing.

The ceiling on the other hand can use one or more of the options available. It really just depends on your budget. Focus on the area's above the front of the server racks and you should be able to ensure that the cold air stays inside the room and the hot air outside the room doesn't rear its ugly head within the room.

Thermal Containment


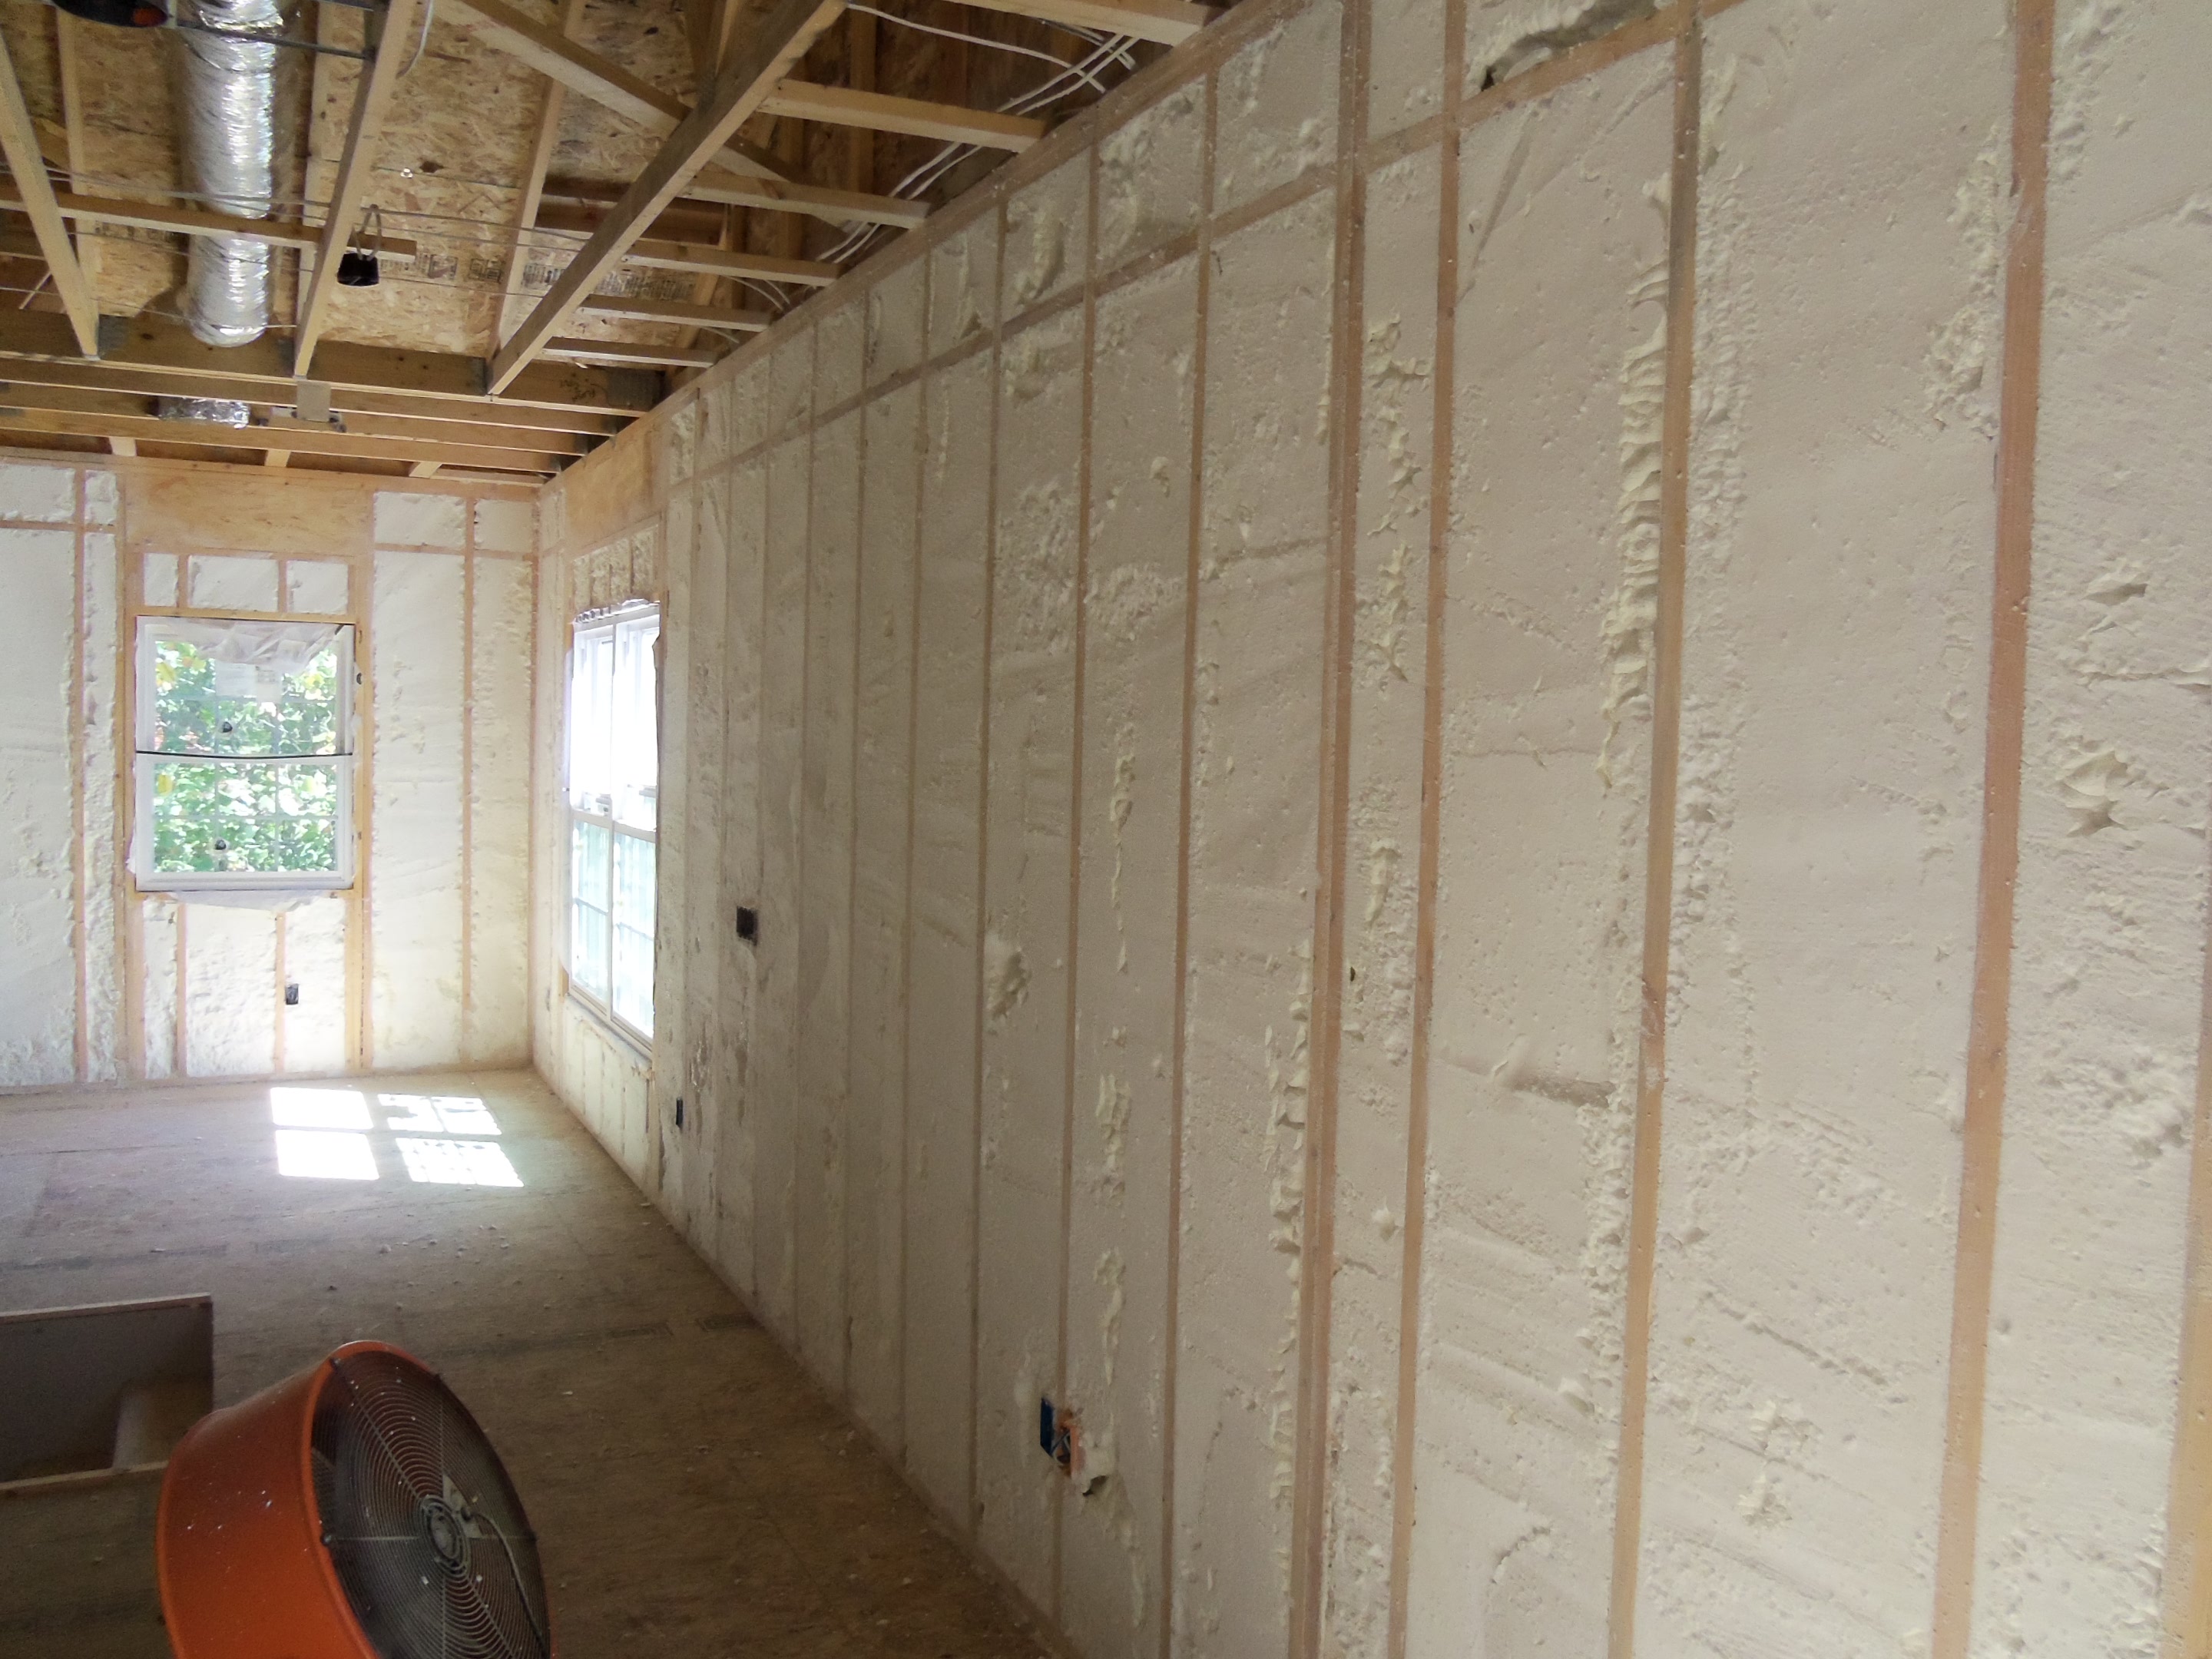
Modern servers draw cold air in from the front, use barriers/ducts to direct the airflow over the components that need to be cooled and exhaust the hot air out the rear. By doing so, the servers make efficient use of the airflow available.


You might be thinking "why don't we do this in our server room?". Well, time and cost are normally a factor but it might also be difficult to sell it to management if you already have a server room that "just works". So if it's difficult to sell the idea of thermal containment, you might be able to slap together a proof of concept for relatively little cost (sometimes free) that will hopefully drive the point home.

Thermal Containment - Proof of Concept


Your going to need some paint sheets or a few shower curtains etc whichever one is cheaper and easier to get your hands on. You'll also need a roll of duct tape, something to cut the tape into strips, a ladder and probably a couple of hours to spare.

You're aiming for something like this, but on the cheap!

At the front of your server racks, you'll need to fill in the gap above them. Use the heavier sheets here. They generally won't have to cover as much area so weight shouldn't be an issue. Tape the sheets to the ceiling and let em hang. Use tape every metre or so and overlap with extra pieces of tape as necessary to make sure the sheets stay there.

For larger areas like  thoroughfares, you will need a lighter sheet like a shower curtain.... Or a crap load of tape whichever you prefer.
For thoroughfares, this is what you're trying to achieve... minus the forklift 


Once your done, you can let the room equalise under its existing AC settings before taking some measurements and giving your stakeholders a walkthrough. Personally, I've gone so far as to turn AC unit off completely to demonstrate how well it can work. Don't do this unless you know your IT loads REALLY well or really stupid. Clearly, i'm the latter.

DIY Thermal Containment


If you've managed to sell your proof of concept, now it's time to get real and luckily, I have a plan for that too.

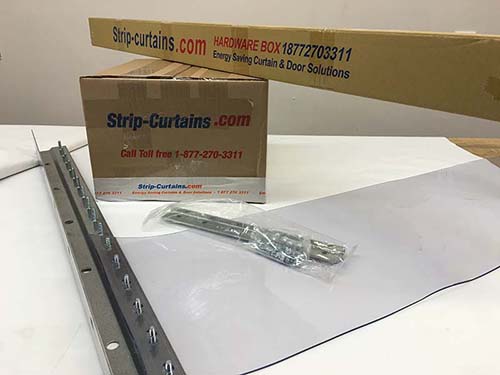
You'll need angle brackets, self tapping screws and rolls of clear PVC anti static sheet. If you want to take your install to the next level and make it adjustable and removal, add to your list threaded pot magnets, stainless steel washers and wing nut bolts.

Start by cutting your PVC sheet to the shape you need to fill the space. Pre drill and screw the clear PVC sheet to one half of the angle brackets. Screw the brackets into the ceiling and you're done.

If you're trying to take your install to the next level, instead of screwing the brackets to the ceiling, bolt the angle brackets to the threaded pot magnets using a wing nut bolt and washers on both sides of the PVC sheet. Finally attach the entire contraption to the ceiling via the pot magnets.

What? You were expecting more? Make sure you don't cut your sheet too short. A little overhang is better than not enough. You can also heat it with a heat gun to bend it into certain shapes.

Final Thoughts


Remember that you need to be taking measurements both before and AFTER because otherwise you won't know if the changes you're making ACTUALLY WORK. Don't simply take my word for it.. take measurements and take action accordingly.

Friday, 11 March 2016

Air Flow Management (Part 1)

Air flow management in smaller environments has often been a point of contention. Mostly because it's very difficult to realise the benefits in smaller environments or it could be that no one other than you cares.

In this article, we'll discuss different forms of airflow management and various ways to take measurements both before and after. Let's get started.

Everything Starts With Measurements


No, not those kinds of measurements! We're talking temperature, humidity, airflow and the like.

Temperature/Humidity


Everyone usually has some form of temperature and/or humidity monitoring somewhere. This is either cabled to or inside of a PDU, a UPS or an OOB device and that's enough right? Not for us it isn't!

The first thing to determine is where to take measurements from and it's probably going to be different for every site. As a starting point, try to monitor the overall temperature within the room. You'll need a couple of sensors for this because you'll want to take an average across all of them. If you were to accidentally place a sensor in a hot or cold spot, hopefully the average will be levelled out thanks to the other probes and should keep you well enough informed until you are able to fix it.

Next you want to measure at the rack inlet. If your AC system supply air feeds in via the ceiling, you need to place your sensors at the bottom of the rack. If your supply air feeds in from the floor, you place your sensors at the top of the racks. What you're looking to find are the conditions of the server farthest away from the supply air which would then be our worst case scenario.

Next on the list is the supply outlets. Monitoring these with airflow and temperature sensors is a good idea because not only do you know the temperature of the air feeding the room but you also know if one or more are damaged (resulting in reduced airflow), have a restriction (resulting in reduced airflow) or the AC system has failed (resulting in no airflow). If you have redundant AC systems, it's critical you monitor the state of your AC units because you won't know when one of the units has failed. Yes, I've seen it happen and i've never seen the temperature skyrocket that fast before.

You could also measure the temperature of air outside of the room. That information could be used to help you determine how you cool the room. If it's colder outside of the room, you might consider opening a few doors or removing a few ceiling tiles etc. 

Finally, if you're using thermal containment, you may want to do the same in your hot aisle. Personally, i'd just get some cheap mercury based wall thermometers and attach them to the wall. A hot aisle is meant to be hot, so I don't see a need to continuously monitor it especially in a smaller environment.

Now that we have figured out what we want to monitor, where the sensors should be placed and how many we need, we should probably look at some products.

There are a couple of companies who specialise in this area but one that i've been quite happy with is Geist. For a small environment, you can't go wrong with the Watchdog 1200 climate monitor. The 1RU Watchdog 1200 has a couple of built in sensors for monitoring temperature, humidity, airflow, ambient light and sound but also supports up to 16 digital sensors, 3 analogue sensors and 4 IP cameras.


Geist seem to have an unending list of sensors to connect to the system. From water sensors and door sensors to isolated voltage sensors and smoke alarms, it'll make you wonder whether the 1200 is actually enough for you.

Finally, you can go online and try out the web interface for free and even navigate a 3D view of the product. Great products and accessories coupled with the ability to test drive the system made choosing Geist easy.

Thermal Imaging


Thermal imaging is a great way to perform spot checks in your datacentre. Use it to see where your hot spots are, if circuit breakers are close to overload and check seals around doors, windows and hatches. What's best is that it doesn't have to cost thousands of dollars to do it.


Take the FLIR ONE for example which is an FLIR camera attachment for your smartphone. It's portable and BLAAAACK!!! and will provide enough resolution to help you make your next move. At roughly $250 USD you can probably justify the cost of one for yourself and occasionally take it to work when you need to.

One thing an FLIR camera cannot do is predict how airflow, temperature etc will change BEFORE you make changes which essentially leads you to making changes, checking with your FLIR camera and repeating until you get it right.

How do we avoid this? With computational fluid dynamics analysis. Strap yourselves in, because take off  is going to be rough.

Computational Fluid Dynamics (CFD) Analysis


Computational Fluid Dynamics (CFD) is a technique that we utilize in datacentres to model and analyse airflow and temperature changes using tons of math! Yep, math!


As you can imagine, the people who created said math are quite expensive and let's not forget the people who have to program said math into a software package that you or I can't understand anyway. Long story short, it's an expensive piece of software. However, if you can make use of it, it's a much more powerful tool than any of the previous tools I've mentioned so far.

You can use it to determine how air will flow in and around your datacentre, discover hot and cold spots but most importantly, you can make changes like those mentioned below and measure their benefits without spending a cent!


There's a couple of options for obtaining CFD software;

  • Hire someone to come in and do it all for you (expect to spend a few thousand dollars)

  • Buy the software and do it yourself (expect to spend a few thousand dollars and many months studying)

  • Buy some software that kinda does most of it and bodge the rest (Expect to spend a few thousand)

Ok, so the emoji keyboard has nothing to do with airflow management but it does fairly describe the art of the bodge.

Continued in Part 2...


In part 2, we'll discuss how plastic, rubber and shower curtains are going to help you achieve your goals!  Seriously...


Thursday, 25 February 2016

Flexible Power Distribution on a Budget (Part 2)

Now that our switchboard is in place we need to get power to where it's needed the most and for the bulk of you, that's going to be server racks.

If you're reading this, I'm going to assume that Datacentre style overhead power distribution is out of your budget. This how I accomplish the same task.

Firstly, start with a good rack. One that's  designed for the purpose. Using a server rack designed to house servers and manage cabling at the rear is probably not the best idea for a network patching rack  which will generally have cable management at the front. After having learnt this lesson the hard way, I can't help but try to impart this knowledge onto all of you.

APC AR3100 Server Rack Panduit S6212BF Server Rack
APC AR3340 Network Rack Panduit CQSMDC79 Network Rack

While i love both APC and Panduit racks and accessories, i do tend to favour APC. Mostly because i always seem to be able to get my hands on their server racks with relatively short notice. As always, it's up to you what rack fits your needs but just remember, there's a little more to choosing a server rack that simply looking at its dimensions.

Overhead Power Distribution On A Budget


Now that our rack is sorted, I would normally turn my attention to overhead cable management'. The APC AR8560 cable trough connects securely to the top of the APC rack though you can get away with using this setup on other racks. These cable troughs should be Connected together allowing a single rack to be removed independently of your electrical circuits running overhead.


Have the electrician mount the power outlet boxes on the rearward facing side of the cable trough and you'll no longer need to pay an electricians call out fee whenever you need to move things around.


Just remember to mark your outlets so you can tell at a glance which electrical board they're connected to. I suggest using paint pens to colour in part of the outlet box and colour part of the electrical board cover to match. I like to use red for UPS power and blue for mains power.

Earthing


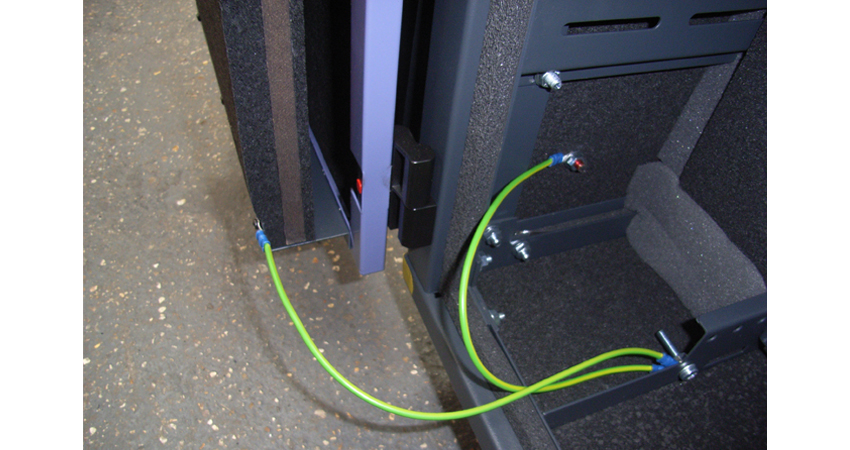
The most important part of your install should be your earthing system. It's a safety system which should never be overlooked and your plan for this system should be discussed with your electrician.

Without your direction, the electrician will run a dedicated earth from the electrical board to your server rack and use a self tapping screw and appropriate washer to earth your server rack and yes, it does work but anything beyond that will generally be your problem to deal with not theirs.

If your thinking "well, I don't know anything about this stuff" I have some suggestions below.

Piggyback Style Earthing


The piggyback style is generally going to be the cheapest. Mostly because it can be wrapped into other jobs (like running a new circuit) for relatively little labour. It also requires the least amount of additional consumables.


Despite being easy on the hip pocket, you potentially introduce additional resistance into your earthing system and by piggybacking your earth, you are creating a number of potential points of failure. Severe a link in the chain and you compromise everything that was piggybacked to it.

Not good. Let's try and float another idea shall we?

Earth Your Overhead Power Distribution System


Consider having your electrician earth your overhead power distribution system. Why you ask? Your overhead power distribution system is unlikely to be moved. If your power is also terminated here then it absolutely cannot be moved without the assistance of an electrician.

Accidents happen and by being higher up means it's less likely to be damaged by an ignorant mug like me. I don't know about you, but it seems like a safe bet.

The astute among you are probably thinking that the overhead cable management still needs to be piggybacked together so there's still a flaw isn't there? You'd be correct, however it is mitigated to a certain degree.

Finally, if you disconnect a rack (for removal) there is no risk of compromising the rest of the system.

Copper Bus Bar System


Essentially this is a long square/flat bar of copper dipped in tin to inhibit corrosion. Suppliers normally sell these in different lengths but you can also ask them to cut them down to the size you need with a variety of different hole spacing (NEMA, BICSI etc). I personally try to avoid cutting them if I can as it saves time and money.


When it comes to mounting, there are a few ways to mount them. For me, the most important thing to remember is to secure it to your overhead power distribution so the racks can still be removed independently of your bus bar.

How many you choose to install is up to you, but at the very least you'll need one per row. This will ensure your devices have a clean and solid connection to mother earth.

While your at it, you should pick up some ring terminals, a crimping tool, ground wire (min 2.5mm or 13 gauge but no more than 4mm or 11 gauge) and probably a small wire brush or sandpaper  to ensure the surface is clean. You'll need to earth PDUs, UPSs, Network gear, Blade chassis etc so it's better to spend a few bucks on tools and do this part yourself.

Flexible Power Distribution on a Budget (Part 1)

One of the most common questions that's asked by literally no one is what's the best way to power my server room?

Over the years I've probably powered server rooms every which way you can think of and there definitely isn't a one size fits all solution to the problem.

Today, I'm going to walk you through a couple of different solutions which will hopefully make this decision just that little bit easier.

The Pay As You Grow Model


In most small scale installations an electrician is brought in, installs a circuit breaker at one end, an outlet at the other and runs some cable (generally single phase) between the two. Once he's finished, he hands you a very large bill and calls it a day.

... 250 million metres of cable? 1 bazillion hours of labour? You can scarcely believe your eyes! Surely this can't be real... But you pay it despite lamenting over the fact that you'll have to pay it again when you add another rack.

When you eventually start adding extra servers, racks, electrical circuits,  switching, SAN and a blade center, you end up in one or more of the following situations:


  • You cannot effectively manage your energy usage efficiency ratio's
  • You run out of space in your electrical board for new circuits
  • You run out of capacity (amperage) in your electrical board
  • You destroy your budget due to additional, unaccounted for electrical works.


Planning Starts From The Beginning


Let's rewind the clock to when your office/server room fit out is first taking place. Actually, let's rewind the clock even further to when we're planning the electrical for the floor. It's at this time where you should be considering how the server room should be powered because in many cases, you'll only get one shot.

Ensure you share your plans with the electrician or electrical engineer at every step of the way. If not, you could end up with a bunch of standard 10 amp single phase circuits.

Going too small will not only limit your options in the future, but you also risk overloading the circuit. Conversely, going too large may limit your equipment choices down the road and put a larger dent into your pocket than you expected.

Using A Dedicated Electrical Board


If you're installing an electrical board for the entire floor, chances are they need to run a new circuit up to your floor from the meter room. If they're going to all that trouble, now might be a good time to run an additional line straight into your server room and connect it to a new electrical board.

If Joe bloe decides to switch the power off to a circuit and gets the wrong one, at least you know he's not going to be messing with your server room. Yes, I've seen this happen, by an electrician funnily enough. We can laugh about it now though.

Also, by obtaining our own dedicated feed, we can cater for much larger amount of growth than we would have been able to otherwise.

Secondary Electrical Board


The above option may not always be available to you. If that is indeed the case, I normally opt for running ONE massive three phase circuit (the bigger the better) from your existing electrical board to a shiny new electrical panel inside your server room.

You can of course mount the panel outside if you want but subsequent new runs will require more labour, more materials and will probably look ugly. Mind you, it'll probably still look ugly inside the server room but fewer people will notice.

Don't Forget The UPS!


If you have a bare wire UPS output, don't forget that a separate electrical board  can also be used to distribute UPS power to your racks! Connect your UPS to the electrical board (to where mains power would normally be connected).

Just remember to use an appropriately sized electrical board. Using the same size as your mains electrical board may be overkill although I will admit, it would look perfectly symmetrical.


*ahem* Just remember, your UPS will always power less than your mains electrical board. Don't believe me? In part 2, we'll discuss overhead power distribution from the switchboard to the equipment.